Lighting in Composites
In this section we will implement basic diffuse shading in the composite pass.
Gamma Correction
Before we start doing any lighting, it’s important to make sure we are in the correct color space. For more information on why we need to do this, see the relevant LearnOpenGL article.
Anyway, let’s go back to our gbuffers_terrain.fsh. In order to apply gamma correction, we raise our color to the power of 2.2. So, at the end of the pass:
color.rgb = pow(color.rgb, vec3(2.2));You’ll notice this makes our colors look horrible. This is because we need to apply inverse gamma correction afterwards. Let’s make a new shader pass called final. Create copies of your composite.fsh and composite.vsh files and rename them to final.fsh and final.vsh. The final pass is functionally identical to the composite passes but it always runs after the last composite pass.
Then, in your new final.fsh:
color.rgb = pow(color.rgb, vec3(1.0/2.2));Voila! Your colors are back to normal.
Decoding Data
Returning to composite.fsh, let’s read back in the lightmap and normal data we stored in colortex1 and colortex2 in the previous tutorial. First, we need to be able to sample the textures.
uniform sampler2D colortex1;uniform sampler2D colortex2;Then, in main, let’s read them back:
vec2 lightmap = texture(colortex1, texcoord).rg; // we only need the r and g componentsvec3 encodedNormal = texture(colortex2, texcoord).rgb;vec3 normal = normalize((encodedNormal - 0.5) * 2.0); // we normalize to make sure it is of unit lengthNext, let’s verify everything is being decoded correctly.
color.rgb = vec3(lightmap, 0.0);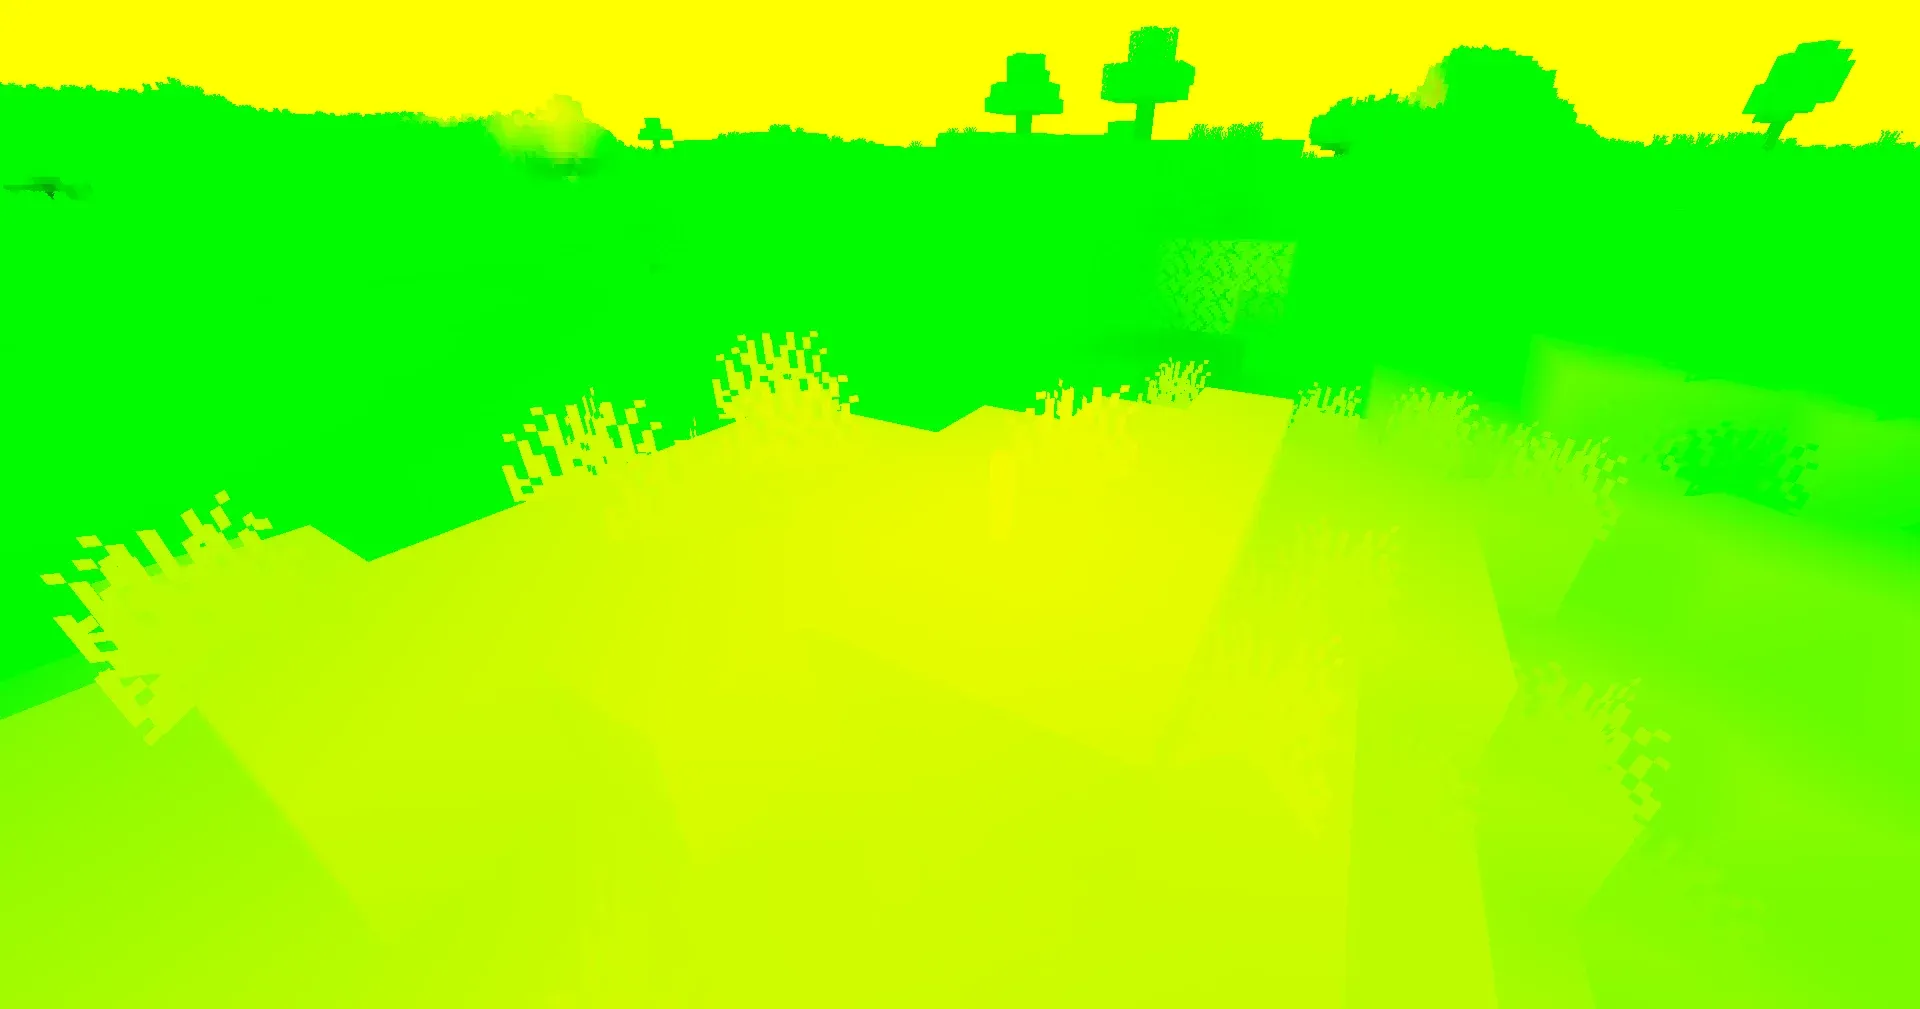
You can see that where there is skylight, only the green component is set. However, where there is blocklight (by the torch), the color is yellow. Since red and green make yellow in RGB, we know that blocklight is stored in the red component and sunlight is stored in the green component.
color.rgb = normal;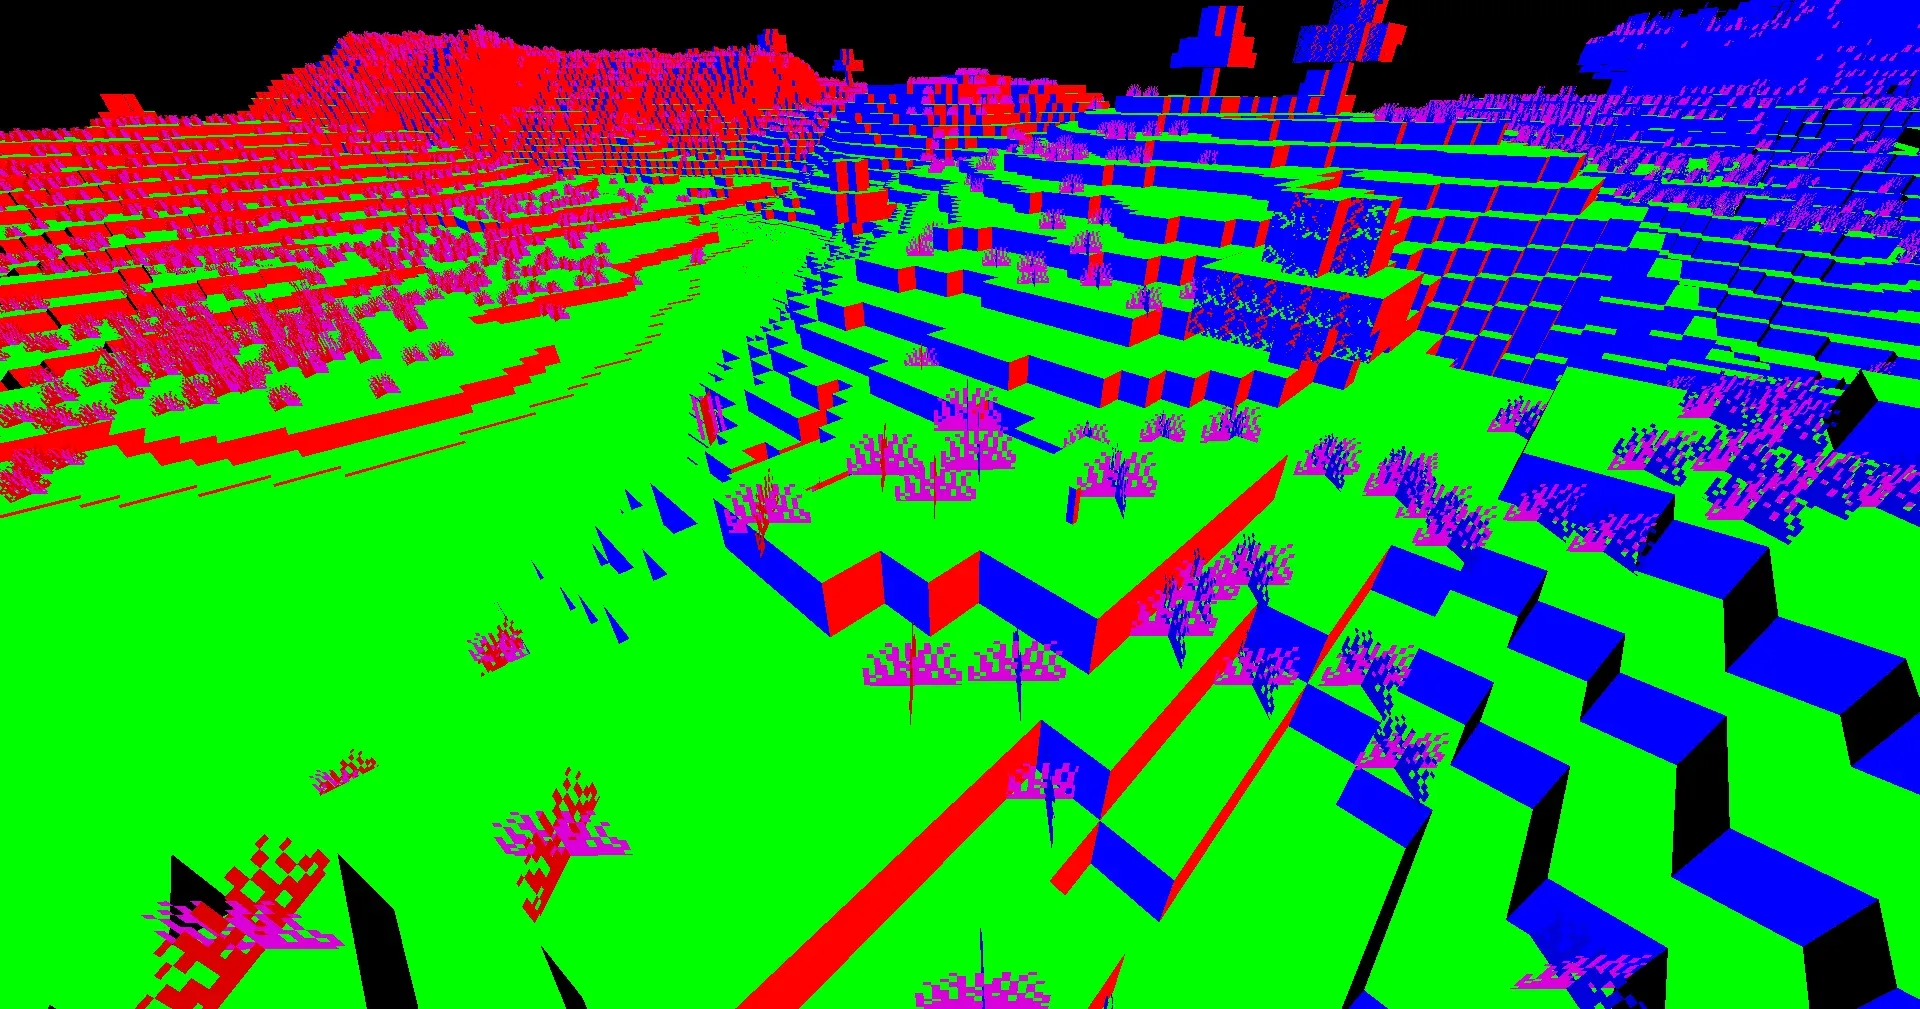
gbuffers_terrain program does not run for the sky, so no data is stored for these pixels. We will resolve this later on.
Lighting
To apply lighting to our color, we want to multiply it by the color of the light hitting it. Of course, with multiple light sources, there are multiple types of light hitting it. For our shader, we will have the following types of light
- Ambient (some constant factor, so you can see in caves)
- Skylight (blue in the day, uses the lightmap). This is our indirect lighting.
- Blocklight (some warm color that matches torches, uses the lightmap)
- Sun/Moonlight (yellow for the sun, white for the moon). This is our direct lighting.
So, to apply our lighting, we would then do something like color.rgb *= ambient + skylight + blocklight + sunlight.
First, let’s define some colors/brightnesses for each term. I chose the following on a whim.
const vec3 blocklightColor = vec3(1.0, 0.5, 0.08);const vec3 skylightColor = vec3(0.05, 0.15, 0.3);const vec3 sunlightColor = vec3(1.0);const vec3 ambientColor = vec3(0.1);I have defined these before main, they are consts which means they are defined at compile time, making them faster.
Let’s get these values applied.
vec3 blocklight = lightmap.r * blocklightColor;vec3 skylight = lightmap.g * skylightColor;vec3 ambient = ambientColor;vec3 sunlight = sunlightColor; // we will fix this in a minute
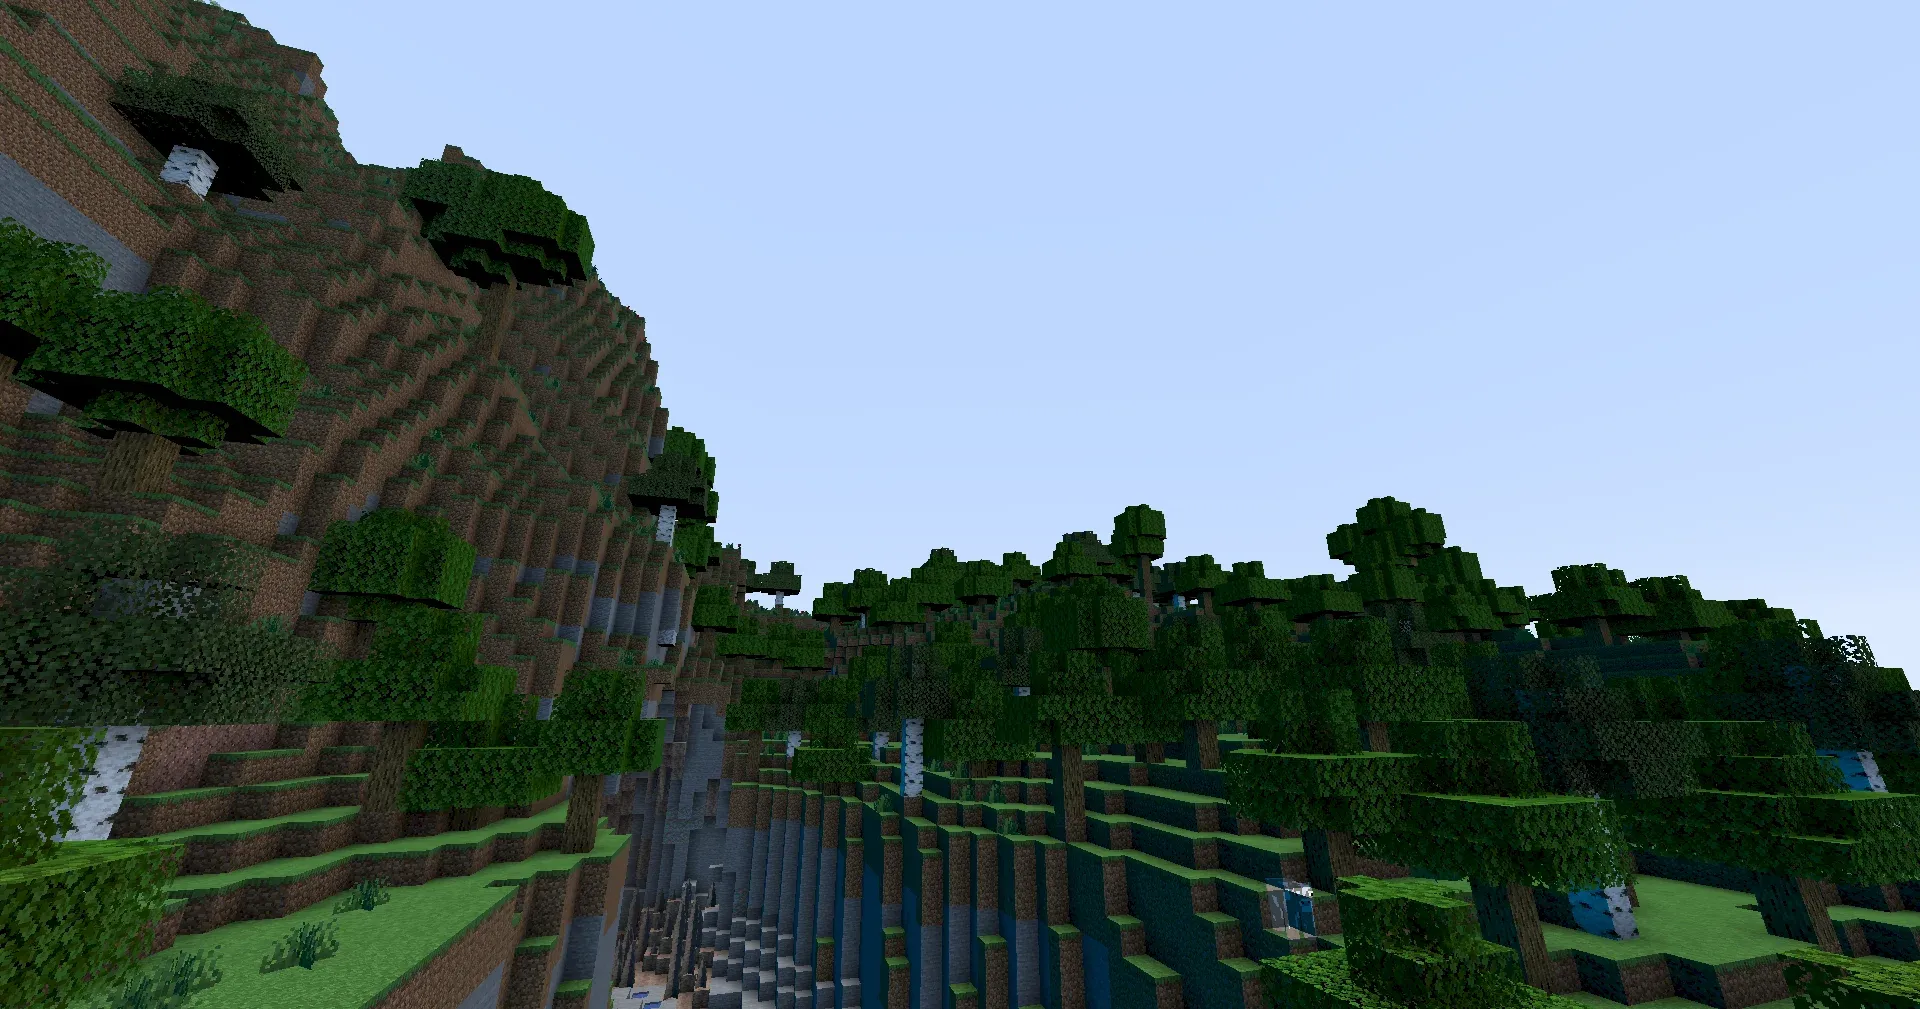
color.rgb *= blocklight + skylight + ambient + sunlight;Things should look something like this:
Sunlight
Now, what about that sunlight? Well, if something is facing directly towards the sun, then we want it to be fully sunlit. On the other hand, if something is facing away from the sun, we want there to be no sunlight. So, we need a function that returns 1.0 if two vectors are facing in the same direction, and 0.0 if they are facing away from each other. Happily, we can use a dot product for this.
Now, the first thing we need to know is where the sun (or moon) is. We can do this with uniform vec3 shadowLightPosition. In the daytime this returns the sun’s position, in the night, this returns the moon’s position.
Now, to get a vector pointing towards this, we can normalize it. This maintains the direction but ensures the magnitude is 1. However, this vector is in view space, and our normal is in world space. To transform our normal to world space, we once again use uniform mat4 gbufferModelViewInverse.
Once we have the sun vector, we can take the dot product of it with the normal, and multiply the sunlight by it. We will also multiply by the sky lightmap, as stuff which is not lit by the sky should not be lit by the sun either (we will replace this with shadows in the next section). This would look something like this:
vec3 lightVector = normalize(shadowLightPosition);vec3 worldLightVector = mat3(gbufferModelViewInverse) * lightVector;
[...]
vec3 sunlight = sunlightColor * clamp(dot(worldLightVector, normal), 0.0, 1.0) * lightmap.g;
With that change, your lighting should seem a bit more realistic.
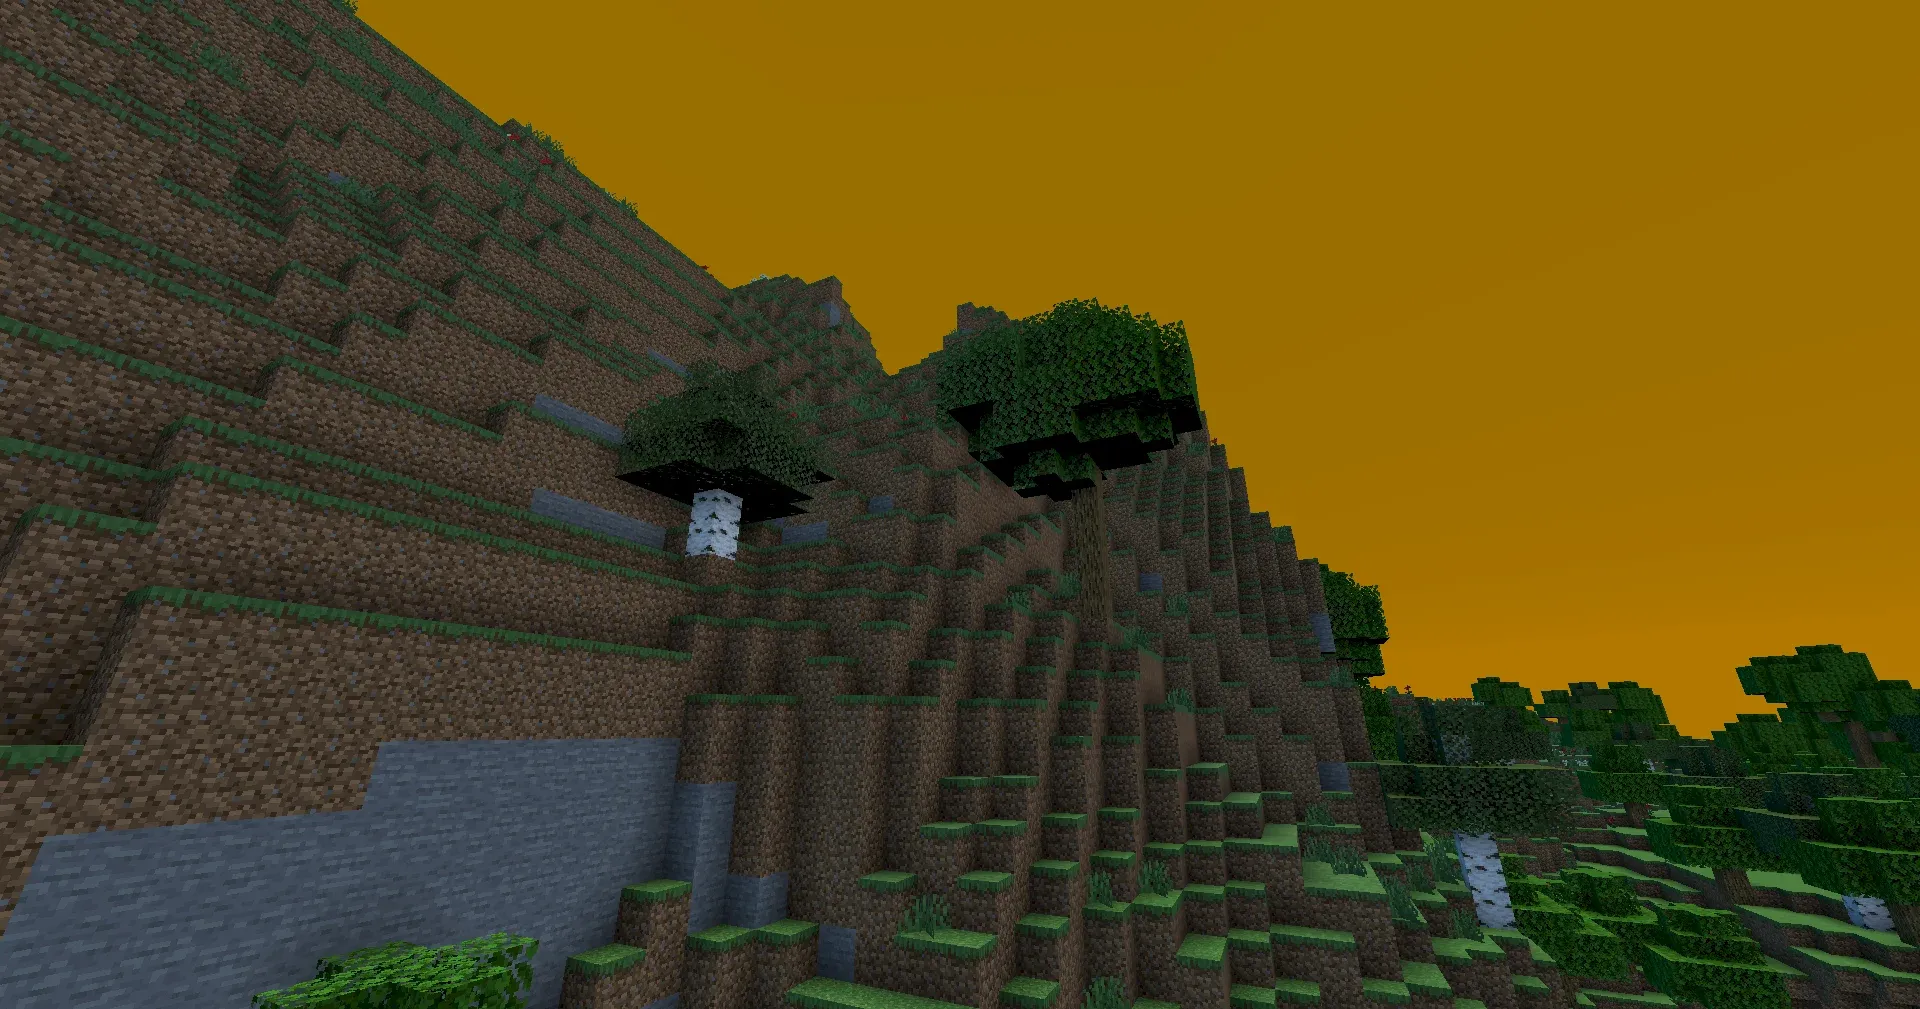
Fixing the sky
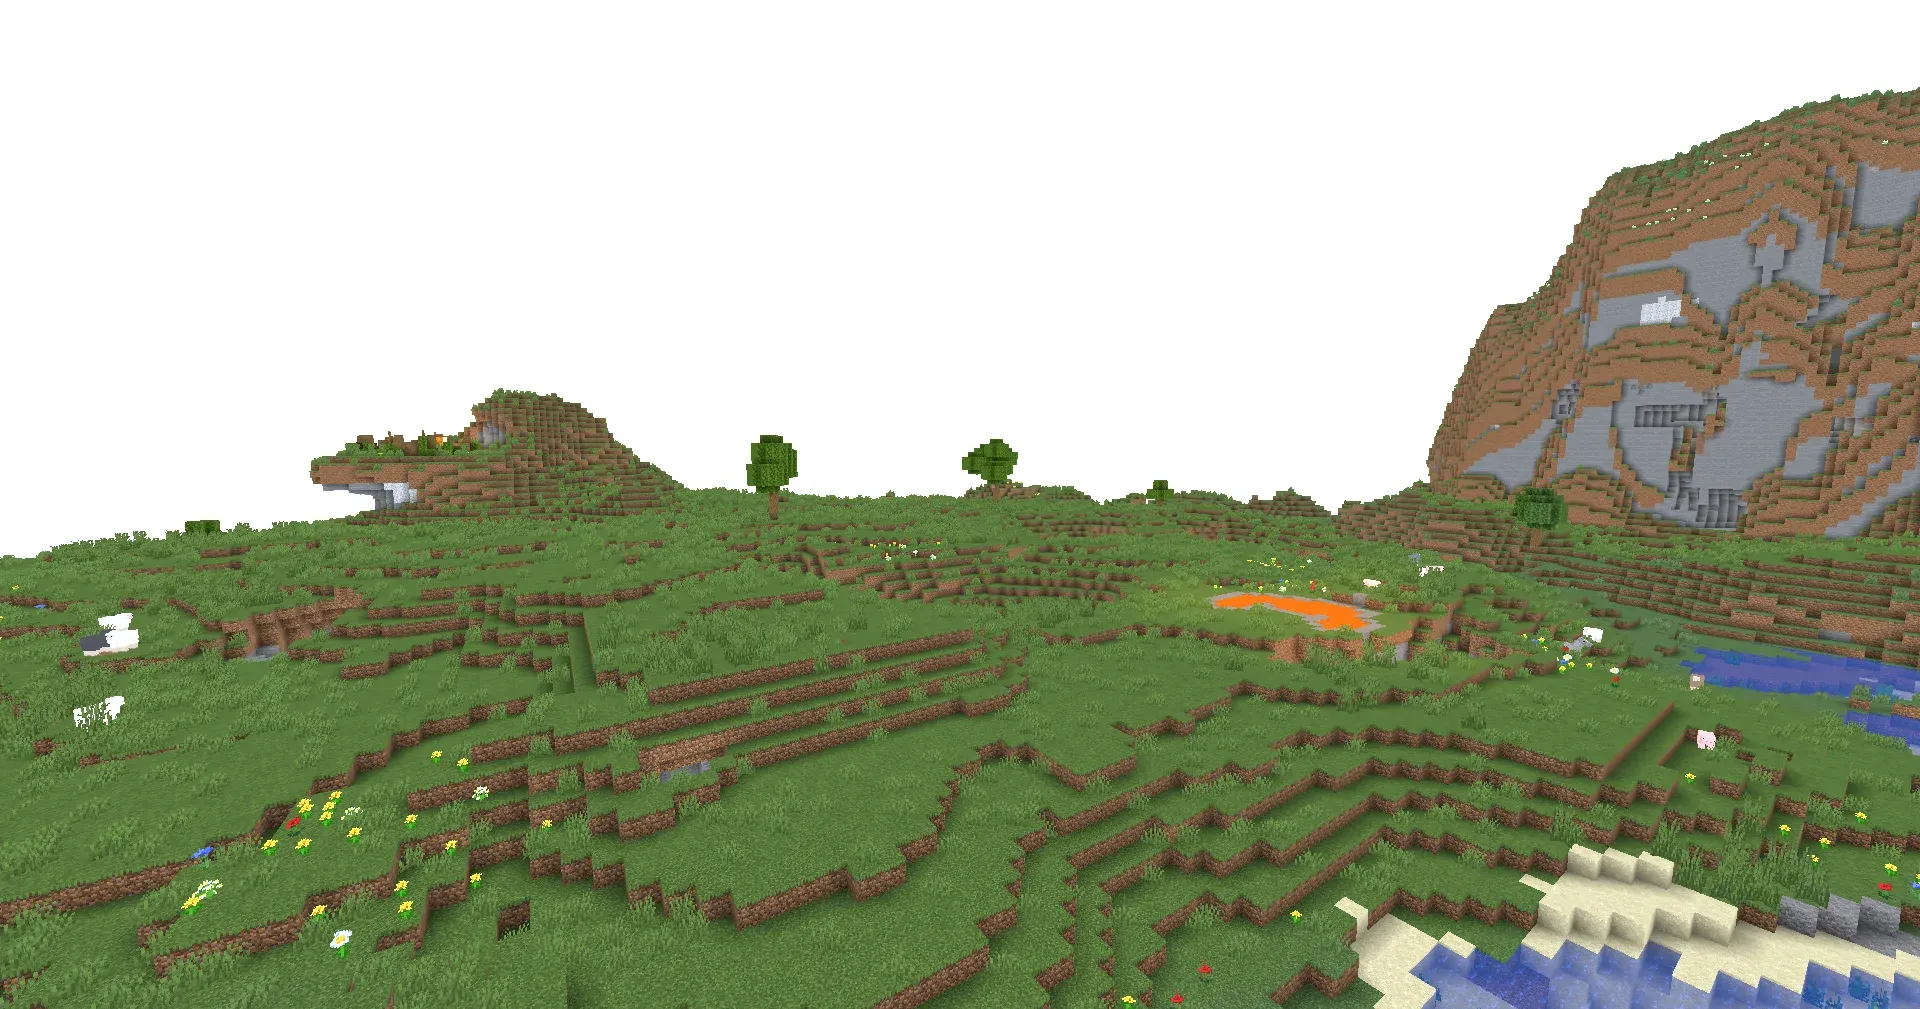
At this point, it may appear as if your Minecraft world is currently undergoing an apocalypse. This is because we are also applying lighting to the sky, despite the fact we do not have normal or lightmap data for it. So, how do we tell if a pixel is the sky or not? Well, we have access to something called the depth buffer, which tells you how far away a pixel is. If the pixel is at the maximum view distance, the depth buffer will store 1.0.
To access the depth buffer, we use uniform sampler2D depthtex0. In between the code which reads the color from colortex0 and the code which applies lighting, we can check if the pixel is the sky, and if it is, we can return from the main function.
float depth = texture(depthtex0, texcoord).r;if(depth == 1.0){ return;}Having done that, your Minecraft world should hopefully have been saved from the apocalypse.