The Gbuffers
In this next section, we will start with a fresh copy of the base 330 pack, instead of using the monochrome version we made in the previous step. You could also just remove the line you added to composite.fsh.
For the purposes of this tutorial, we will only be covering the shading of terrain. Therefore, it is worth deleting all other files starting with gbuffers_. You can also get rid of the deferred files. You should now just have
.└── .minecraft/ └── shaderpacks/ └── gbuffers-tutorial/ └── shaders/ ├── composite.fsh ├── composite.vsh ├── gbuffers_terrain.fsh └── gbuffers_terrain.vshThe Vertex Shader
Let’s open gbuffers_terrain.vsh and take a peek inside.
#version 330 compatibility
out vec2 lmcoord;out vec2 texcoord;out vec4 glcolor;
void main() {  gl_Position = ftransform();  texcoord = (gl_TextureMatrix[0] * gl_MultiTexCoord0).xy;  lmcoord = (gl_TextureMatrix[1] * gl_MultiTexCoord1).xy;  glcolor = gl_Color;}
You will notice that this time, there are three out variables. Let’s go over each one.
texcoord
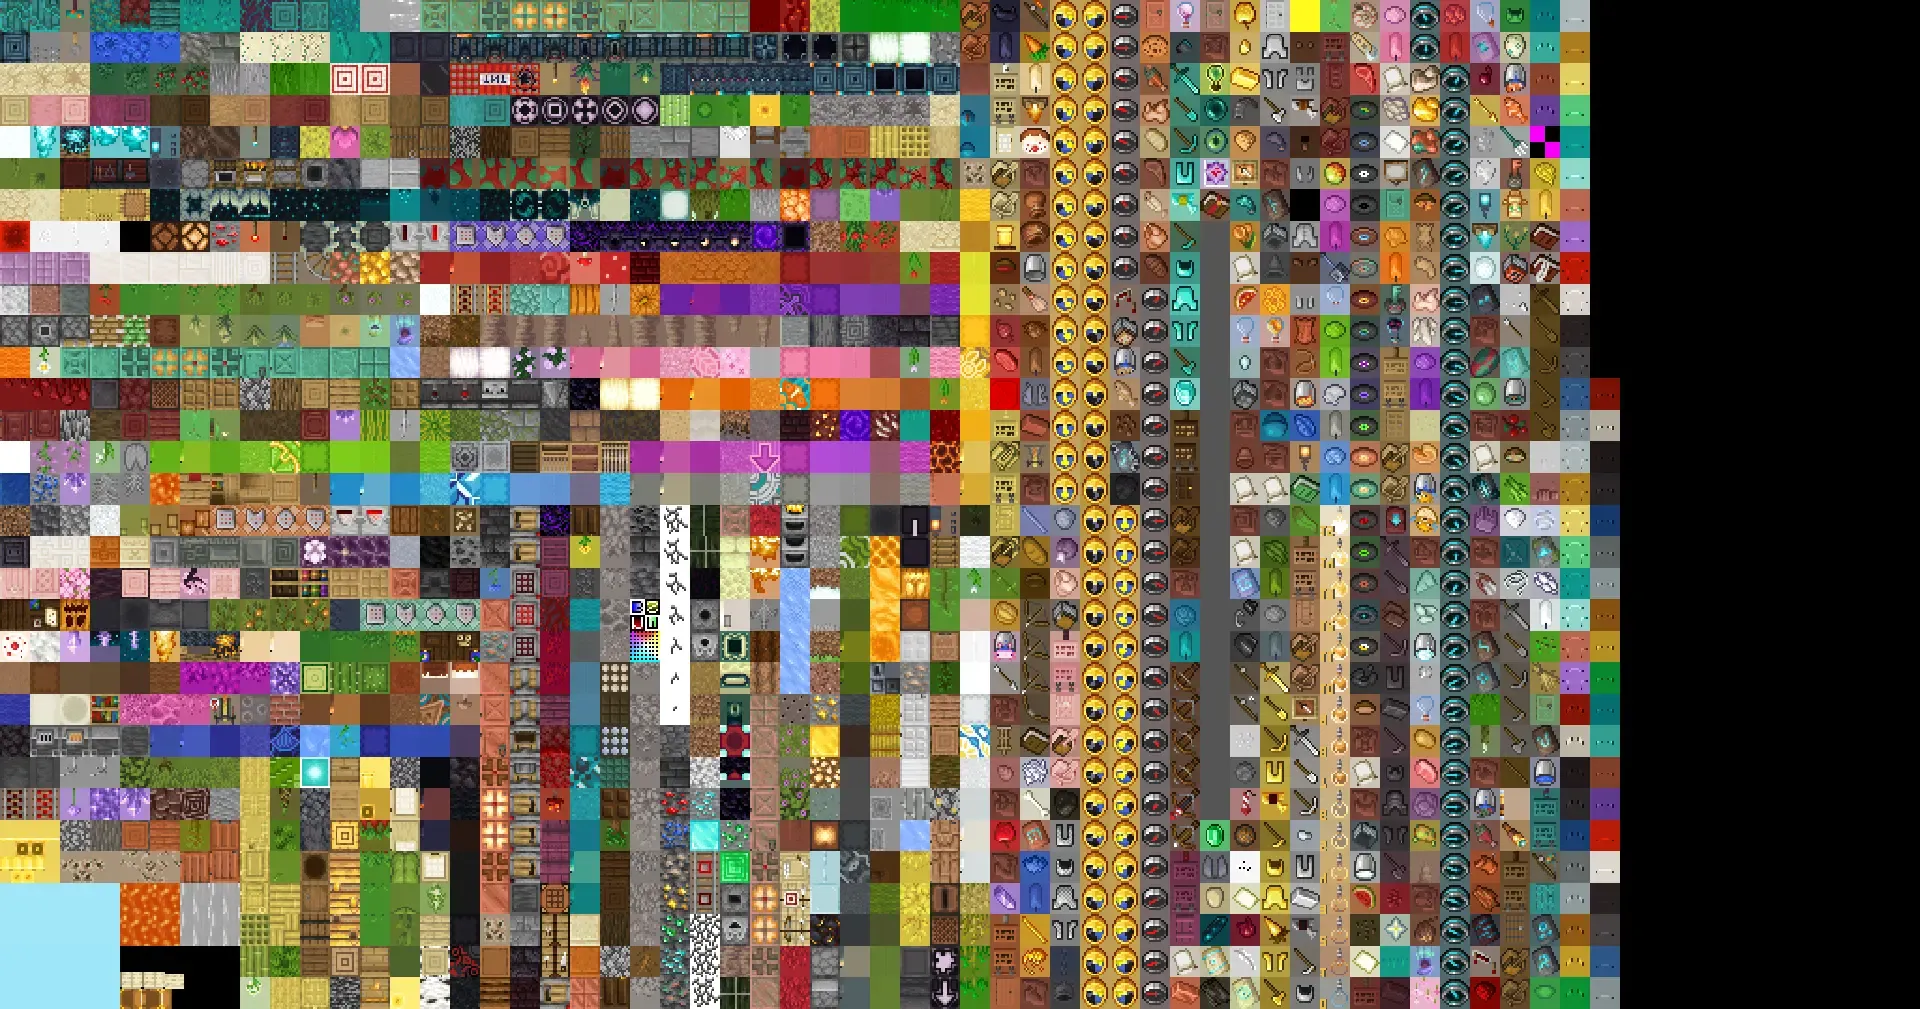
In the previous tutorial, we had a variable called texcoord, which gave us the texture coordinate onscreen of the given fragment. In the gbuffers, the texture coordinate instead represents the coordinate in the texture atlas. The texture atlas contains the textures of every block. We will cover this in the next section.
lmcoord
This represents the coordinate in the lightmap which we are going to use to determine how lit the current fragment is. As explained in the introduction, we are going to do our own maths to correctly interpret this coordinate. The actual range of the lightmap (stored in gl_MultiTexCoord1) varies betweeen Minecraft versions but by multiplying it by gl_TextureMatrix[1] we instead get it in the range ~0.033-~097. This still isn’t very useful but we can fix this ourselves. Let’s add a new line below the one assigning lmcoord.
lmcoord = (lmcoord * 33.05 / 32.0) - (1.05 / 32.0);This now gets us the correct light level. You will notice now that if you reload the shader, lighting is now broken. We will fix this later on.
glcolor
Some blocks, like grass, have a tint based on their biome, provided in the form of gl_Color. If you look in the files for the grass block texture, it is actually grey. To demonstrate this, let’s set glcolor to vec4(1.0). Since the color is multiplied by glcolor in the fragment shader, and multiplying by 1 does nothing, this will remove the tint.

Let’s undo that, since having color is quite nice.
Normals
Before we move onto the fragment shader, there’s one more value we’ll want to use later - the normal. This is a 3 dimensional vector representing the direction the current vertex is facing in. Let’s add a new out declaration for the normal.
out vec3 normal;So how do we get this normal? Well, OpenGL provides it to us with gl_Normal. This is in model space, though, and for simplicity, we want it in player space. This means that the direction is relative to the orientation and position of the player, instead of the model (i.e the chunk being rendered). In main, let’s add some code for that. The justification for transforming to player space will be explained later on.
normal = gl_NormalMatrix * gl_Normal; // this gives us the normal in view spacenormal = mat3(gbufferModelViewInverse) * normal; // this converts the normal to world/player spaceIf you reload your shader, you will notice that there is an error that we have not defined gbufferModelViewInverse. To get this value, we declare it as a uniform before the main function. Uniforms are accessable by any shader program and have the same value wherever you access them. They are calculated on the CPU and uploaded to the GPU.
uniform mat4 gbufferModelViewInverse;The Fragment Shader
With those values being passed through, let’s move onto the fragment shader (gbuffers_terrain.fsh). You’ll notice that two textures are being sampled.
gtexture
This is the texture atlas we mentioned earlier. It contains the textures of all the blocks onscreen, and texcoord tells us where in the atlas the current fragment texture is.

lightmap
Remember how by default, Minecraft uses a texture with colors for each light level? This texture contains those colors. Since we aren’t using the texture anymore, we can get rid of this line.
Next, you’ll notice that we are writing to colortex0. This is generally where most shaders store the main image, with supplementary info in the other buffers. For example, you could store the light levels in colortex1, and use them for lighting in composite. In fact, we are going to do exactly that.
Normals
Next, let’s add that new in declaration for the normal.
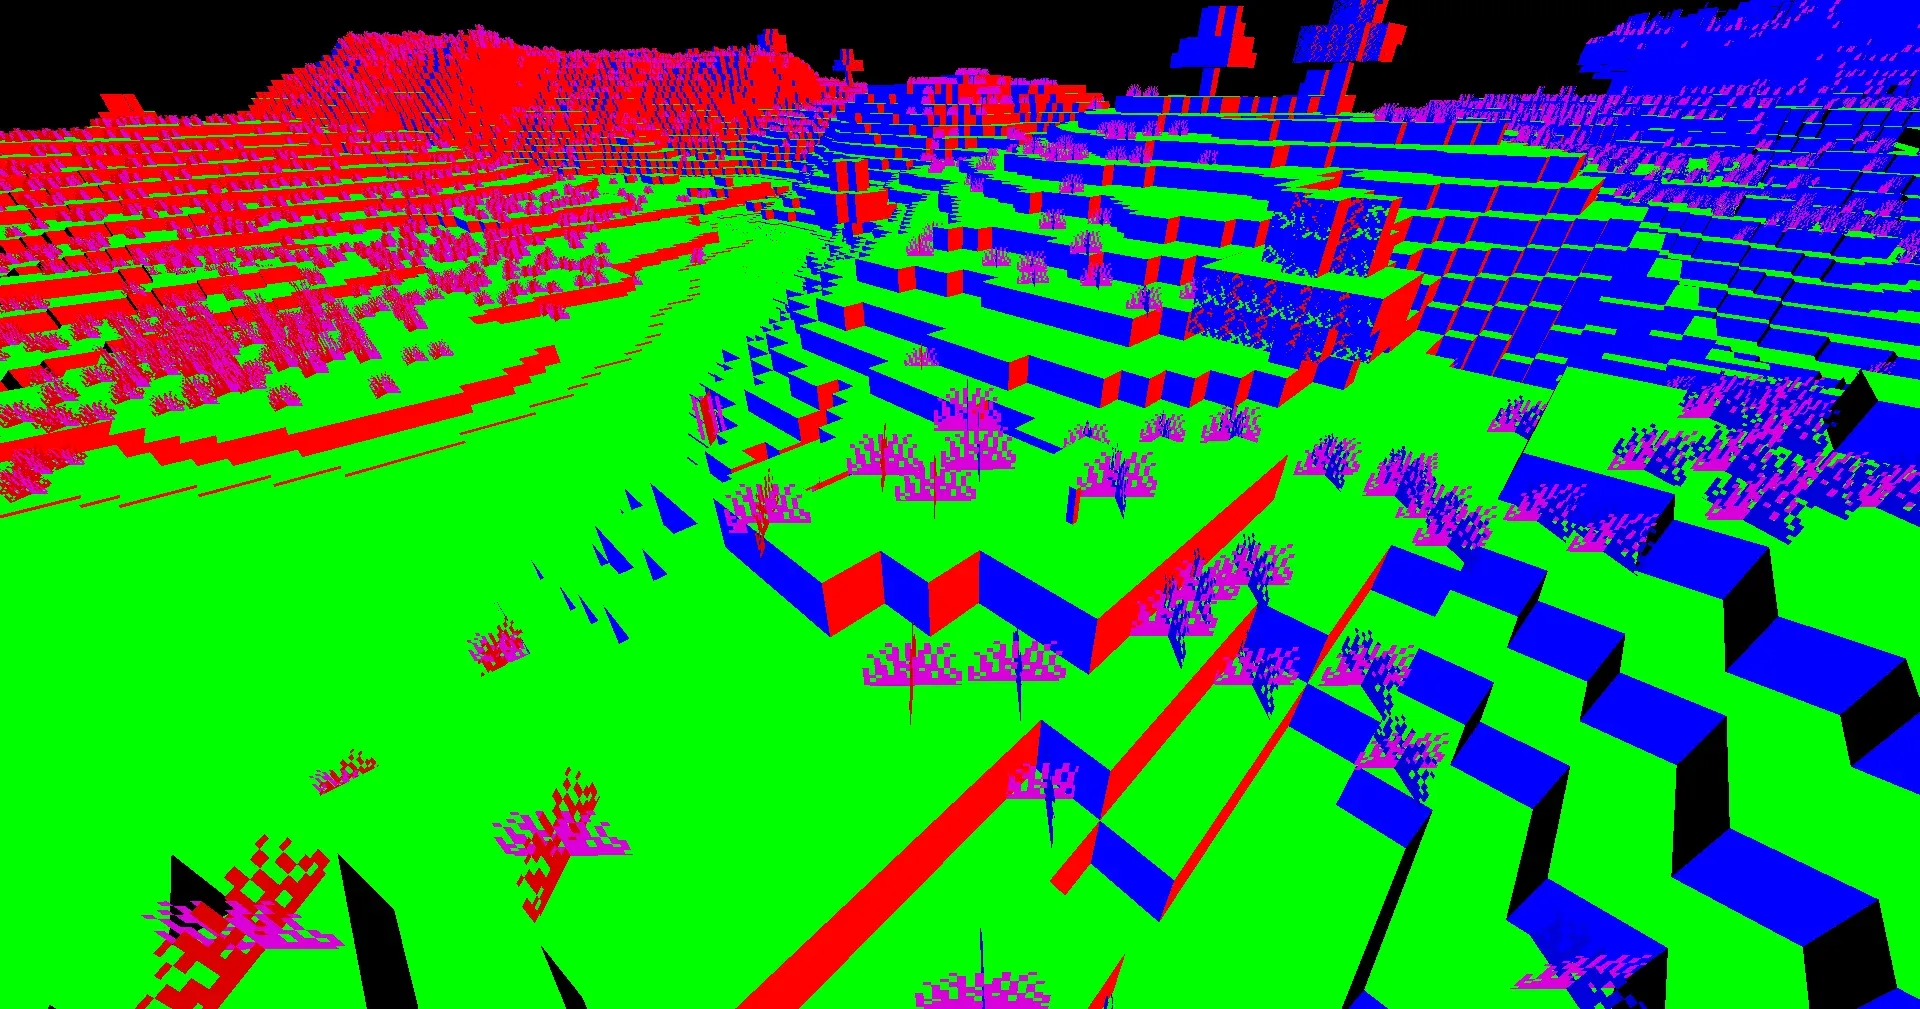
in vec3 normal;How about we have a look at our normals, to make sure they seem correct.
To do this, we can just add a new line at the end of main:
color.rgb = normal;
rgba format and vectors/coordinates in the xyzw format. Since both of these are stored in the same vec4 format, this means that the r component represents the x component, and so on. Since g represents y, this means that if the face is green, then the normal must only have a value in the y component, and hence is facing upwards.
You’ll notice some faces are black, this is where the normals are negative - you cannot have a negative color!
Again, let’s undo this, as it is not how we want our shader to look.
Colors
As you can see, main contains the following code (with comments added here for clarification).
color = texture(gtexture, texcoord) * glcolor; // biome tintcolor *= texture(lightmap, lmcoord); // lightmap lighting [REMOVE ME!]if (color.a < 0.1) { // alpha test discard; // don't bother writing}- The first step multiplies the color by
glcolorto get the biome tint. - The second step multiplies the color by the lighting color. You should remove this, as we are going to do our own lighting.
- Finally, if the color’s alpha (transparency) is less than 0.1, we
discard, which tells the shader program to return and not write anything. This potentially saves us some texture writes.
Writing Extra Data
So, since we are going to do lighting in composite, we need to send the normal and the lightmap data to it. We do this by storing it in a texture. Let’s append our RENDERTARGETS so we can write to more textures, and bind some variables to these other two textures.
/* RENDERTARGETS: 0,1,2 */layout(location = 0) out vec4 color;layout(location = 1) out vec4 lightmapData;layout(location = 2) out vec4 encodedNormal;Finally, in main, let’s write this data to the textures, so we can access it in composite.
lightmapData = vec4(lmcoord, 0.0, 1.0);encodedNormal = vec4(normal * 0.5 + 0.5, 1.0);There are a couple of things here to note. First of all, we always set the alpha to 1. This is to ensure that the data always gets written, because if the alpha is 0, Iris may decide that it shouldn’t be written anyway. This is because of alpha blending. See LearnOpenGL’s page on blending for more info.
Secondly, for each component of the normal, we half it and add a half. Remember how you can’t have a negative color? By default, a texture can only store numbers between 0.0 and 1.0. Since each component can range from -1.0-1.0, we need to put it in the 0-1 range.
With that said and done, we are set to do some lighting in the composite pass.
